

A Basic setup uses one single-stained control file for each of the fluorescence markers in the panel, which is the case for this demo. A Label-specific setup can have more than one single-stained file for the fluorescence markers, and a Spectral setup is used for unmixing data collected on a spectral cytometer.
 to move to the next pane:
Single
Color Controls.
to move to the next pane:
Single
Color Controls.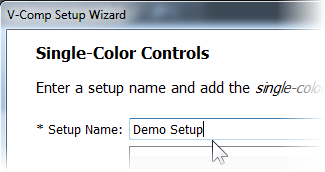
 button and navigate to the location on your computer where the V-Comp™
app is installed. On the Mac, that's usually in the "Applications/V-Comp
for Mac/Samples" folder. On the PC, look in "Program Files
(x86)\Verity Software House\V-Comp for Window\Samples".
button and navigate to the location on your computer where the V-Comp™
app is installed. On the Mac, that's usually in the "Applications/V-Comp
for Mac/Samples" folder. On the PC, look in "Program Files
(x86)\Verity Software House\V-Comp for Window\Samples".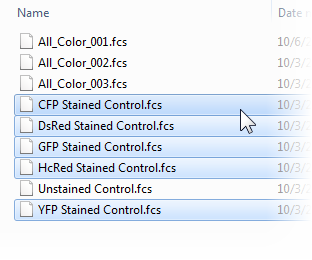
 to add the single-color control files. The order of the files
does not matter. You can also drag-and-drop files onto the Single-Color
Controls list to add them. to move to the Unstained
Controls pane.
to add the single-color control files. The order of the files
does not matter. You can also drag-and-drop files onto the Single-Color
Controls list to add them. to move to the Unstained
Controls pane.On this pane, you can drag and drop your unstained control file onto the wizard or click the folder icon to select one. You can set a different unstained for each file, but that's not usually needed.
 and select the file named "Unstained Control.fcs".
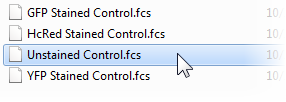 to add the file. Notice that the file is associated with all of the
single-color controls. In working with your own files, you can
specify a separate unstained for any of the single-color files. For
this example, we only need the one unstained file. to move to the Detectors
pane.
to add the file. Notice that the file is associated with all of the
single-color controls. In working with your own files, you can
specify a separate unstained for any of the single-color files. For
this example, we only need the one unstained file. to move to the Detectors
pane.The program will try to figure out which detectors you want to use for compensation automatically.
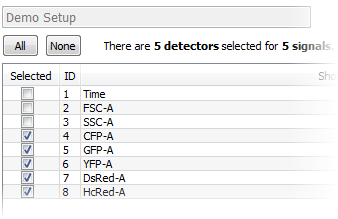 to move to the Match
Controls with Detectors pane.
to move to the Match
Controls with Detectors pane.The program will assign a control file to the detector that was brightest for that control. Most of the time, this is correct, and it is correct for our demo files.
 to move to the Options
pane.
to move to the Options
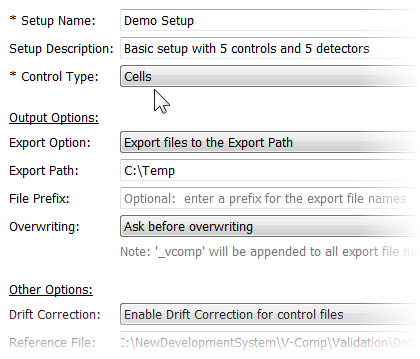
pane.On this page, you can edit the setup name and description and select several other options for the setup.
Set the Export
Option to "Export files to the Export Path".
This means we want to use a specific location for the files
we export.
Note: make sure to select the correct
option here for this example. Choose the "Export files to the
Export Path" option so that you can select a writable folder
on your computer.
icon to the right of Export Path
and select a folder for which you have write-permissions.Note: you must be able to create and write files in the path you select here.
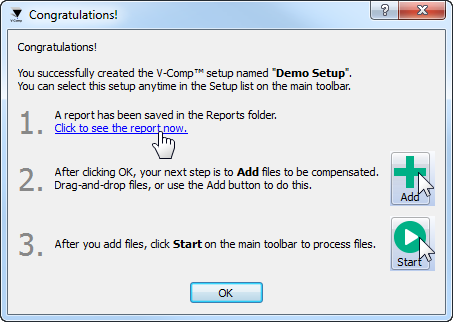
 to complete the wizard.
The wizard will analyze your control files and create a V-Comp™ compensation setup. You should see a Congratulations dialog when it finishes.

 symbol next to each one. This indicates
that the files are compatible with the setup you have selected. If
you see files with a
symbol next to each one. This indicates
that the files are compatible with the setup you have selected. If
you see files with a  symbol, they are not compatible
with the current setup and will not be processed.
symbol, they are not compatible
with the current setup and will not be processed. button to process
the files in the list. The V-Comp™ app will export a new version of
each one with the new compensation settings. Your original files are
left untouched.
button to process
the files in the list. The V-Comp™ app will export a new version of
each one with the new compensation settings. Your original files are
left untouched.